
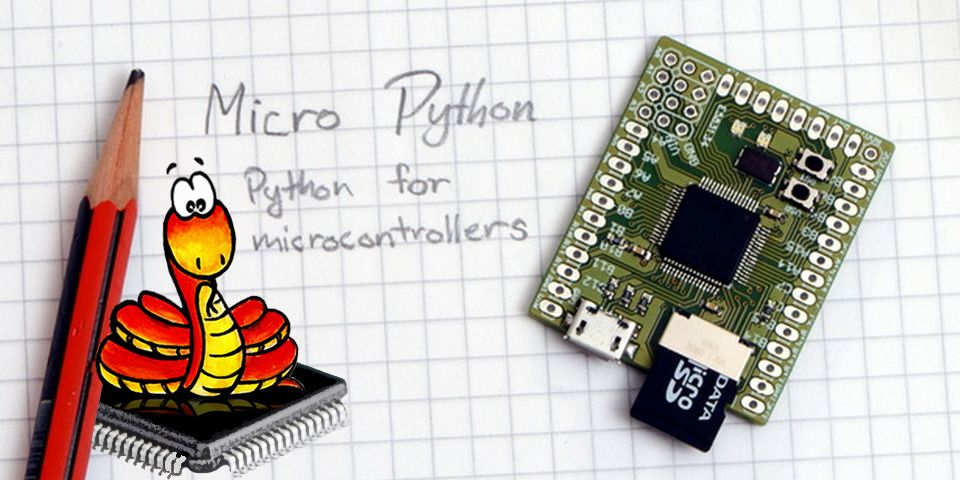
MicroPython is a full Python 3.4 written in C and able to run on bare metal microprocessors like the ARM M Series. Micropython gives you Python access to most of the GPIO on many great little processor boards.
I was a supporter of the MicroPython crowd funded project by Damien George and I am VERY pleased with the results. While updating various boards I ran into some trouble with the project’s Github readme and Wiki instructions. Here is what I did to start with a fresh Debian Wheezy, create needed directories, install the tools, get the source code, compile for target boards, and burn the latest version of MicroPython to FLASH. MicroPython is actively updated, and new board support is added all time. Updating your boards is a common task and should be made as easy as possible. Here are some details on MicroPython.
Do you have a favorite place to put tool chains and other executables and source repositories in Debian? Feel free to use that instead of my suggestions. Note: These instructions are for the latest version of MicroPython, at this time
With Debian and Ubuntu, if the directory $HOME/bin exists, it will be automatically included in $PATH and is a good place for executable tools. $HOME is your home directory with your user name: the same one you get when you cd ~. If $HOME/bin is not there, create it.
cd ~
mkdir bin
Install the gcc-arm-gnu-eabi tool chain. Go to the page that lists the gcc-arm-none-eabi for various OS’s and select the Linux button (Looks like…nux. Hover over the buttons to read the file name). Download and unpack the Tape Archive (tarball) in ~/bin. (I had to edit my .profile file and add the full path to the C compiler in the gcc tool set. This is not supposed to be required and maybe I messed up $PATH settings earlier.) Here is how .profile checks for ~/bin and it shows the path I extended to include the compiler /bin file in the gcc directory. The current URL for download is https://launchpad.net/gcc-arm-embedded/4.9/4.9-2015-q1-update/+download/gcc-arm-none-eabi-4_9-2015q1-20150306-linux.tar.bz2 if you want to do it in a terminal.
# set PATH so it includes user's private bin if it exists
if [ -d "$HOME/bin" ] ; then
PATH="$HOME/bin/gcc-arm-none-
After saving, refresh the $PATH
source .profile
echo $PATH
or restart your terminal session. echo $PATH to check it out.
The USB communications require dfu-util (DFU is Device Firmware Upgrade protocol for USB). I have version 0.5 for these tests. (There is a pydfu tool that is supposed to be used automatically. It is turned off in the make file. I enabled it to test and it failed.)
apt-get-install dfu-util
Get the MicroPython Source. The source includes the code for all supported boards in a Git repository. Don’t use the zip file. It fails with the tool chain on Debian. If you don’t have Git, install it – and get yourself a free Github repository while you are at it though you won’t need it for this. Sparkfun has a nice simple intro to Git in their tutorials. You will be able to pull complete updates very easily.
apt-get-install git
It’s that easy. Now to get a copy of the source. In Git, this is called cloning. You can clone to your home directory and everything will go into a directory called micropython. Make sure you are in your home directory (or wherever you like to keep source code packages or Git repositories). The repo page is here. Use the button on the right to copy the clone URL.
cd ~
git clone https://github.com/micropython/micropython.git
Compile the source. My first test is for the Pyboard itself, which is a STM32F4 and uses the code in the stmhal directory in the source code files. I’m using a quad core PC and the -j option for make specifies the number of threads to use. Things with lots of small files like a Linux kernel or MicroPython compile much faster with more threads. Two threads per core is about optimal.
cd micropython/stmhal
make -j8
USB access without resorting to sudo and its inherent dangers can be handled with a udev rule. Dave Hylands, one of the MicroPython gurus, has a set of scripts for communications. Included are three that will set udev rules for the Pyboard, STM Discovery, and Teensy. I cloned his Git repository to the micropython directory where it will create a directory called usb-ser-mon. The repository is here and you can get the clone URL on the right of the page. Change to the usb-ser-mon directory and execute the appropriate script. I did all three of the rules scripts for the boards. These rules are permanent and you don’t have to repeat them.
cd ..
git clone https://github.com/dhylands/usb-ser-mon.git
cd usb-ser-mon
./mk-udev-rules-pyboard.sh
./mk-udev-rules-stm32.sh
./mk-udev-rules-teensy.sh
cd ..
cd stmhal
Program the flash in the Pyboard. After I added the full path for the c compiler, this build went just fine and only took a few seconds. Then to burn to flash, the board must be in DFU mode. On the Pyboard the 3V3 pin is connected to the DFU pin with a jumper. Reset the Pyboard and the board will be recognized. You should not have to mount the board as a volume. Program the on-board flash with your newly compiled MicroPython. (See below for the newest firmware versions that do not require the jumper.)
make deploy
# If you have not made the udev rules, use
make && sudo make deploy
Any of the readme or tutorial instructions that say simply make deploy or a complicated longer statement failed without the udev-rules. I also added my user to the dialout group. Minicom will run and communicate with the boards without sudo.
Run MicroPython. Eject or unmount the board, remove the Bot0 jumper and reset. The board will show as a USB flash drive and at /dev/ttyACM0 in Minicom. You can edit the Python sample program, main.py, with examples from the Repository or Wiki pages, save, and unmount/eject the board. The main.py file will run after boot. Obviously, editing and running this way can get tedious, but wait! You can leave the main.py file open for editing and save when you make changes. ^C (control-c) will stop the program and put you in interactive mode and ^D will start main.py again, but with your changes. This gets pretty fast and easy. Edit, save, ^C, ^D, edit, save……..
If you do not need real-world GPIO when testing, there are QEMU files in the source repository and you can do development in emulation. You can also compile Micropython directly for your Debian PC and develop algorithms with your favorite IDE. I suggest making Micropython for your PC in a venv so that you don’t get conflicts with Python libraries (I use IPython Notebook and have loads of libraries and modules but keep it all in a venv).
You can also run a terminal program and use the board interactively, or put your main program on a uSD card. A main.py file on the uSD will be executed instead of the main.py in the on-board flash. The files on the uSD CAN execute files from Flash with execfile. So, you can use resources from the Flash when running your application from a uSD. Well, it’s Python after all. You can do just about anything!
Next, some other boards and some less common examples like reading a 22 bit ADC.
Notes: Programming and testing without the DFU jumper. As of firmware version xxxx ……
https://github.com/micropython/micropython/wiki/Getting-Started
0 Comments.